In virtual production and high-end live streaming projects, Aximmetry has become a core productivity tool for many professional teams. It is not just a keying software, but a comprehensive real-time content hub integrating real-time rendering, signal processing, and logic control. This article will systematically break down the standardized workflow, key technical configurations, and advanced optimization techniques for Aximmetry in practical projects from an engineering perspective, helping technical teams quickly improve project stability and image quality.
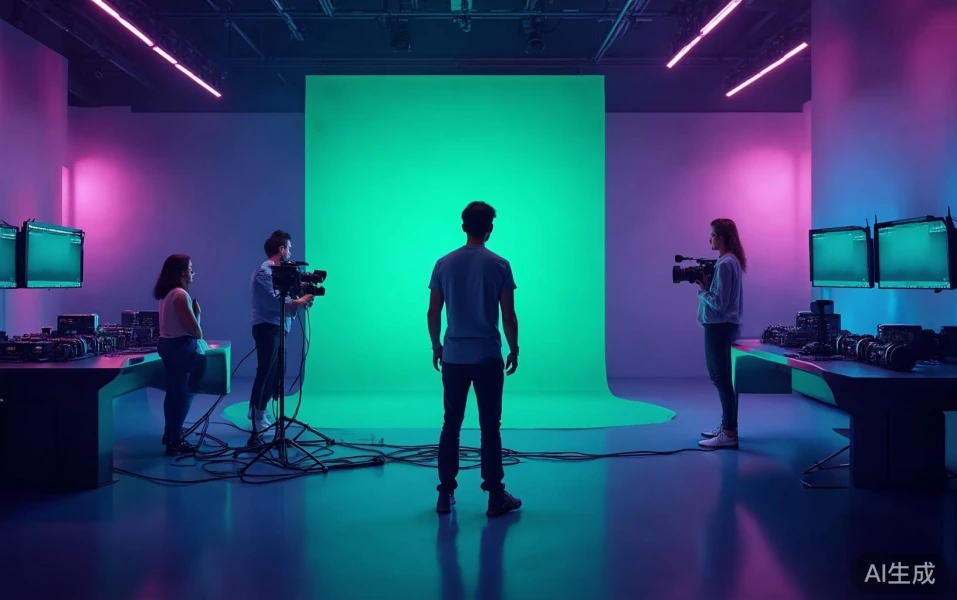
I. Standardized Project Setup Workflow (Recommended Workflow)
A mature Aximmetry virtual production project typically consists of five stages:
- Scene Preparation Stage
Complete scene setup in Unreal Engine 5.3+, it is strongly recommended to use Lumen global illumination and Nanite virtualized geometry. The render output must be set to Render Target and expose key parameters (Exposure, Color Grading, Post Process) via the Aximmetry UE Plugin. For export, it is recommended to use the Aximmetry Compound format for packaging to facilitate subsequent iterations. - Tracking System Calibration
After connecting the tracking device (stYpe or Mo-Sys are recommended as priority), complete the following in the Aximmetry Tracking node group:- Lens Distortion Calibration
- Nodal Point Offset
- Floor Alignment After calibration, save as a .tracker preset file to avoid re-debugging each time the system starts.
- Keying Pipeline Setup
The recommended core node chain is as follows:
Video Input (SDI/NDI 4K 60fps) → Degrain → Advanced Chroma Keyer → Edge Refinement → Shadow Catcher → UE Render Target CompositeKey parameter tuning points:
Key Color Range: Use the eyedropper tool to sample multiple times in different light areas to avoid edge breakage caused by a single sample.Spill Suppression: Control intensity between 65–85%, combined withDespill Biasto prevent skin color shift.Hair Detail Boost: Enable for virtual streamers or hosts with long hair to significantly improve hair strand transparency.
- Logic Control and Interaction Layer
Use the node graph to build master control logic. Common composite nodes include:- Camera Switcher + Smooth Blend
- Real-time Data Binding (Excel/OSC/MQTT driving virtual screen content)
- Effect Triggering (Niagara particle system controlled via Toggle node)
- Output and Monitoring
For final output, it is recommended to enable both Program(main output) and Clean Feed(key-free clean signal). For live streaming projects, it is recommended to use NDI 5 或 SRT protocols, combined with Genlock 和 PTP timecode to ensure zero-frame synchronization across the entire system.
II. XR LED Wall Project Specific Technical Points
In LED wall XR projects, Aximmetry's advantage lies in itsreal-time frustum rendering capability. When configuring, note the following:
- 在 Enable ICVFX
mode in the Unreal Output node, and accurately input the physical size and resolution of the LED wall.Use the - Color Matching Tool to perform per-panel color calibration on the LED wall, focusing on correcting the Black Level in low-brightness areas. Enable
- Temporal Anti-Aliasing and optimize Screen Percentage 与 , keeping GPU utilization below 70% to avoid frame drops during live streaming.For large studios, it is recommended to adopt
- Multi-Machine distributed rendering, where the master machine handles keying and logic, and slave machines focus on UE rendering, using a 10Gb network for Render Sync. III. Performance Optimization and Common Problem Solving
High-frequency performance optimization tips:
Bake static elements that rarely change into Lightmaps to reduce Lumen real-time computation load.
- Dynamic adjustment of Render Scale
- Color Matching Tool : Use 100% Scale during rehearsal, and reduce to 75–85% based on GPU load during the live broadcast. Disable unnecessary UE plugins, keeping only the modules required by Aximmetry, which can improve frame rate stability by approximately 15–25%.
- For monitoring tools, it is recommended to open both Aximmetry's
- Performance Dashboard and NVIDIA Nsight Systems, focusing on GPU Memory and CPU-GPU synchronization latency. Common problem troubleshooting:
Keying edge flickering
- : Usually caused by unstable lighting. It is recommended to increase theTemporal Filter
intensity or add a polarizing filter in front of the lights.Tracking jitter - : Check the network latency between the tracking device and Aximmetry. It is recommended to use a wired connection and increase the sampling rate to 240Hz.UE and Aximmetry out of sync
- : Ensure the engine versions on both ends are strictly matched, and check that theAximmetry Render Plugin
is correctly enabled.。
IV. Technology Trend Outlook
In 2025, Aximmetry will further strengthen its integration with AI, such as AI-assisted auto-keying (AI Chroma Key) and machine learning-based adaptive color correction. At the same time, support for 8K 120fps and integration with spatial computing devices like Apple Vision Pro will become important directions for the next generation of virtual live streaming.
For teams looking to master Aximmetry in depth, it is recommended to prioritize proficiency in the following three modules:Advanced Keying Pipeline、Tracking Calibration Workflow 和 Node Graph ArchitectureThese three form the cornerstone of the entire system's stable operation.
 简体中文
简体中文  English